How to customize status page with CSS?
This documentation shows how to edit your status page with custom CSS.
Background
Custom CSS is a feature that is used when you want to edit status page styles more freely. It requires some advanced knowledge of Cascading Style Sheet functionality from you, but with CSS you can make your status page to look like almost anything you want.
How to edit
CSS editor can be found when you go to Status Pages > Manage > Status page tools (wrench icon) and CSS editor tab from there. The CSS editor is currently supported only by public status pages.
The status page consists of different wrapper elements and layout items. Use your browser’s inspect tools to find out about the classes that exist on the status page. See examples of the most basic elements below.
Please note: These edits override colors that are set up in Brand Colors. The status page defaults are loaded first, then brand color overrides and lastly custom CSS, that will ensure custom CSS has always the top priority.
Remember, you can edit any part in source code, these are just basic examples.
Main wrappers and header
Page main body can be edited with simply
body {
   /* Your styles here */
   border: 10px solid #0083ff;
}
Preview:
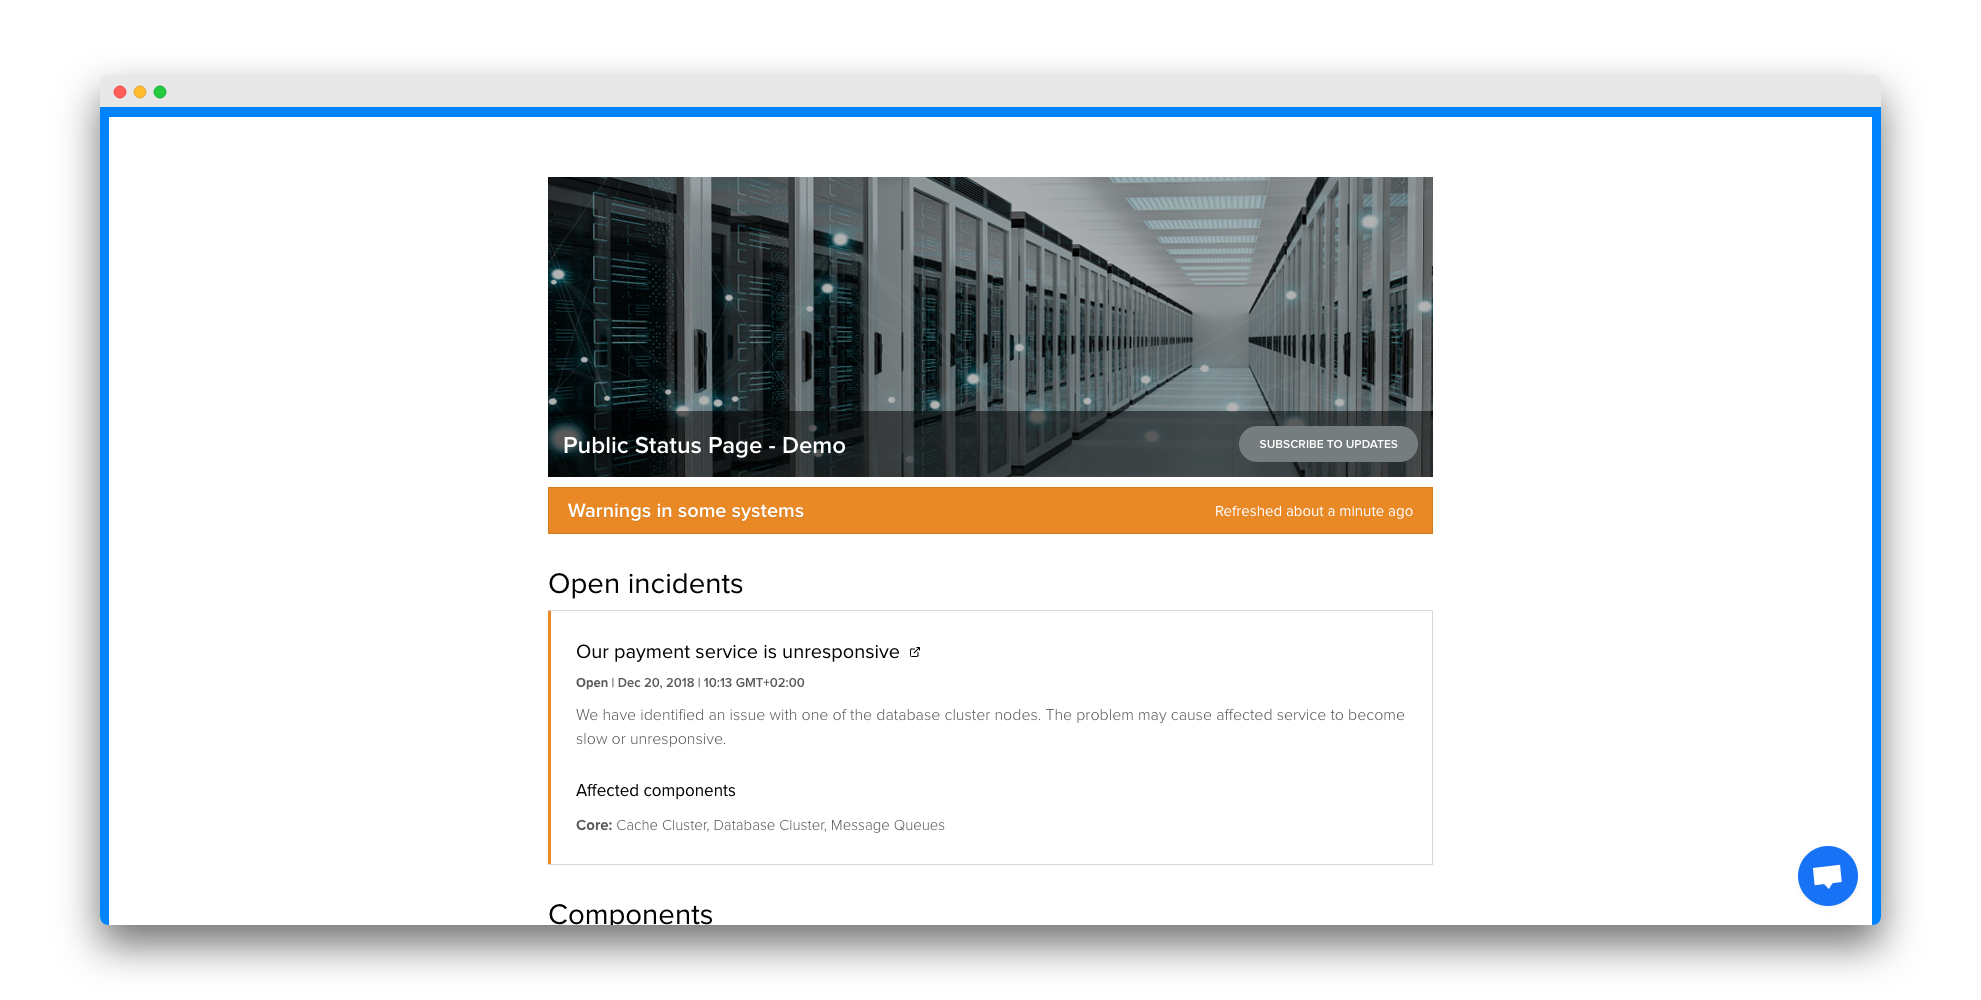
You can even add paddings or backgrounds if you feel like it, use your imagination!
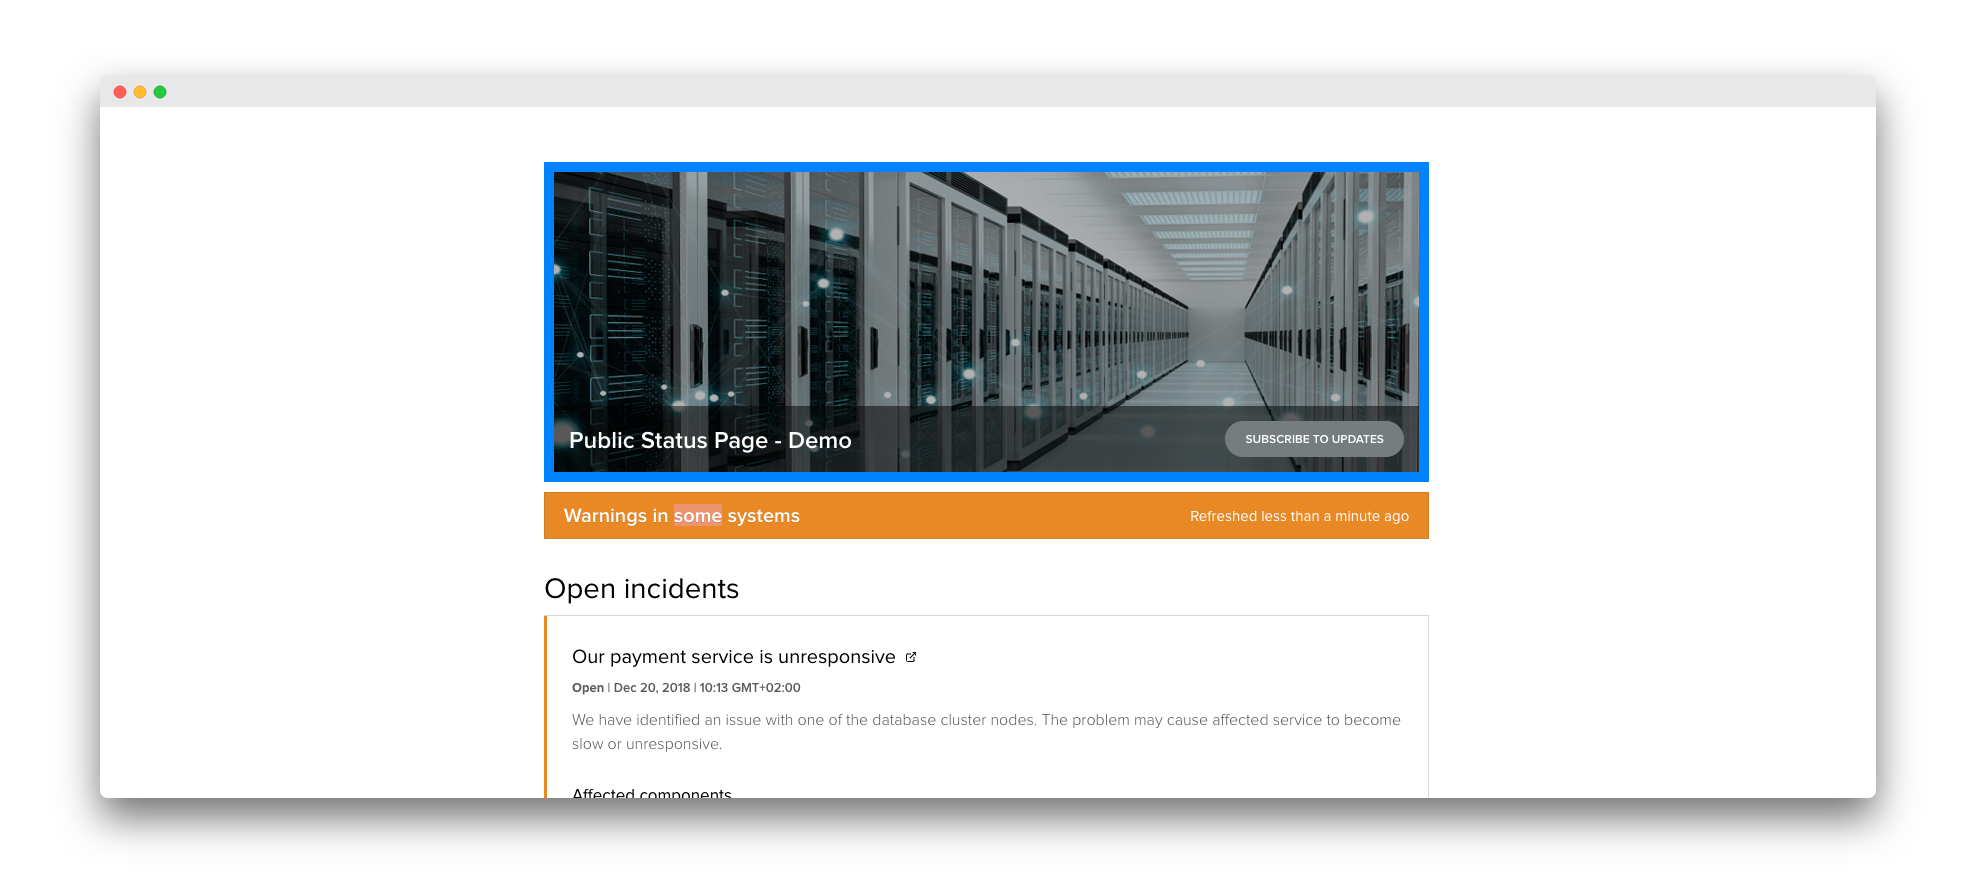
Wrapper
<div class="status-page status-page-wrapper wrapper">
Which is in CSS (you can copy paste and try this in CSS editor!):
.wrapper {
   /* Your styles here */
   border: 10px solid #0083ff;
}
Will look like this:

Header
Header will always contain header class and header-layout-number_var depending on the layout:
<div class="header header-layout-3">
Which is in CSS:
.header {
   /* Your styles here */
   border: 10px solid #0083ff;
}
Will look like this:
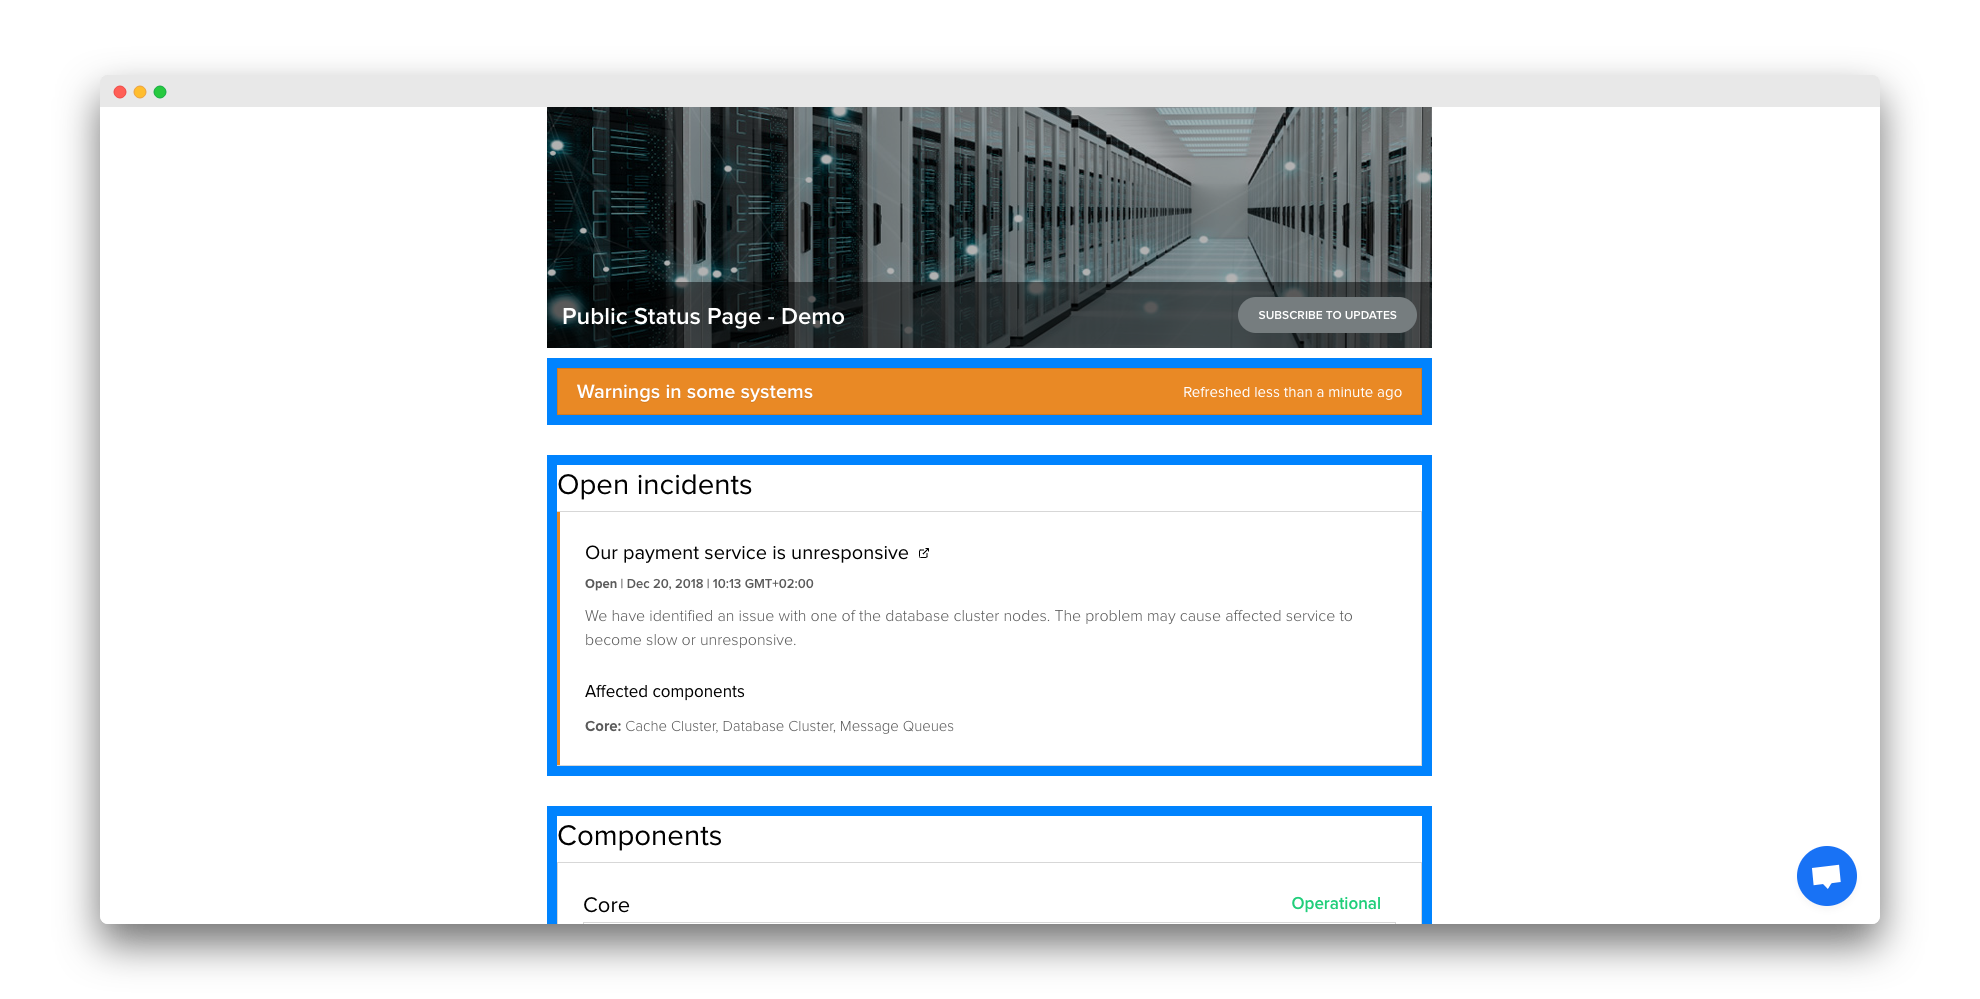
Blocks
Blocks are the main elements that are modular and movable in status page settings. Every block has the class block so they are easy to recognize. You can select all the blocks with simple CSS like this:
.block {
   /* Your styles here */
   border: 10px solid #0083ff;
}
Preview:
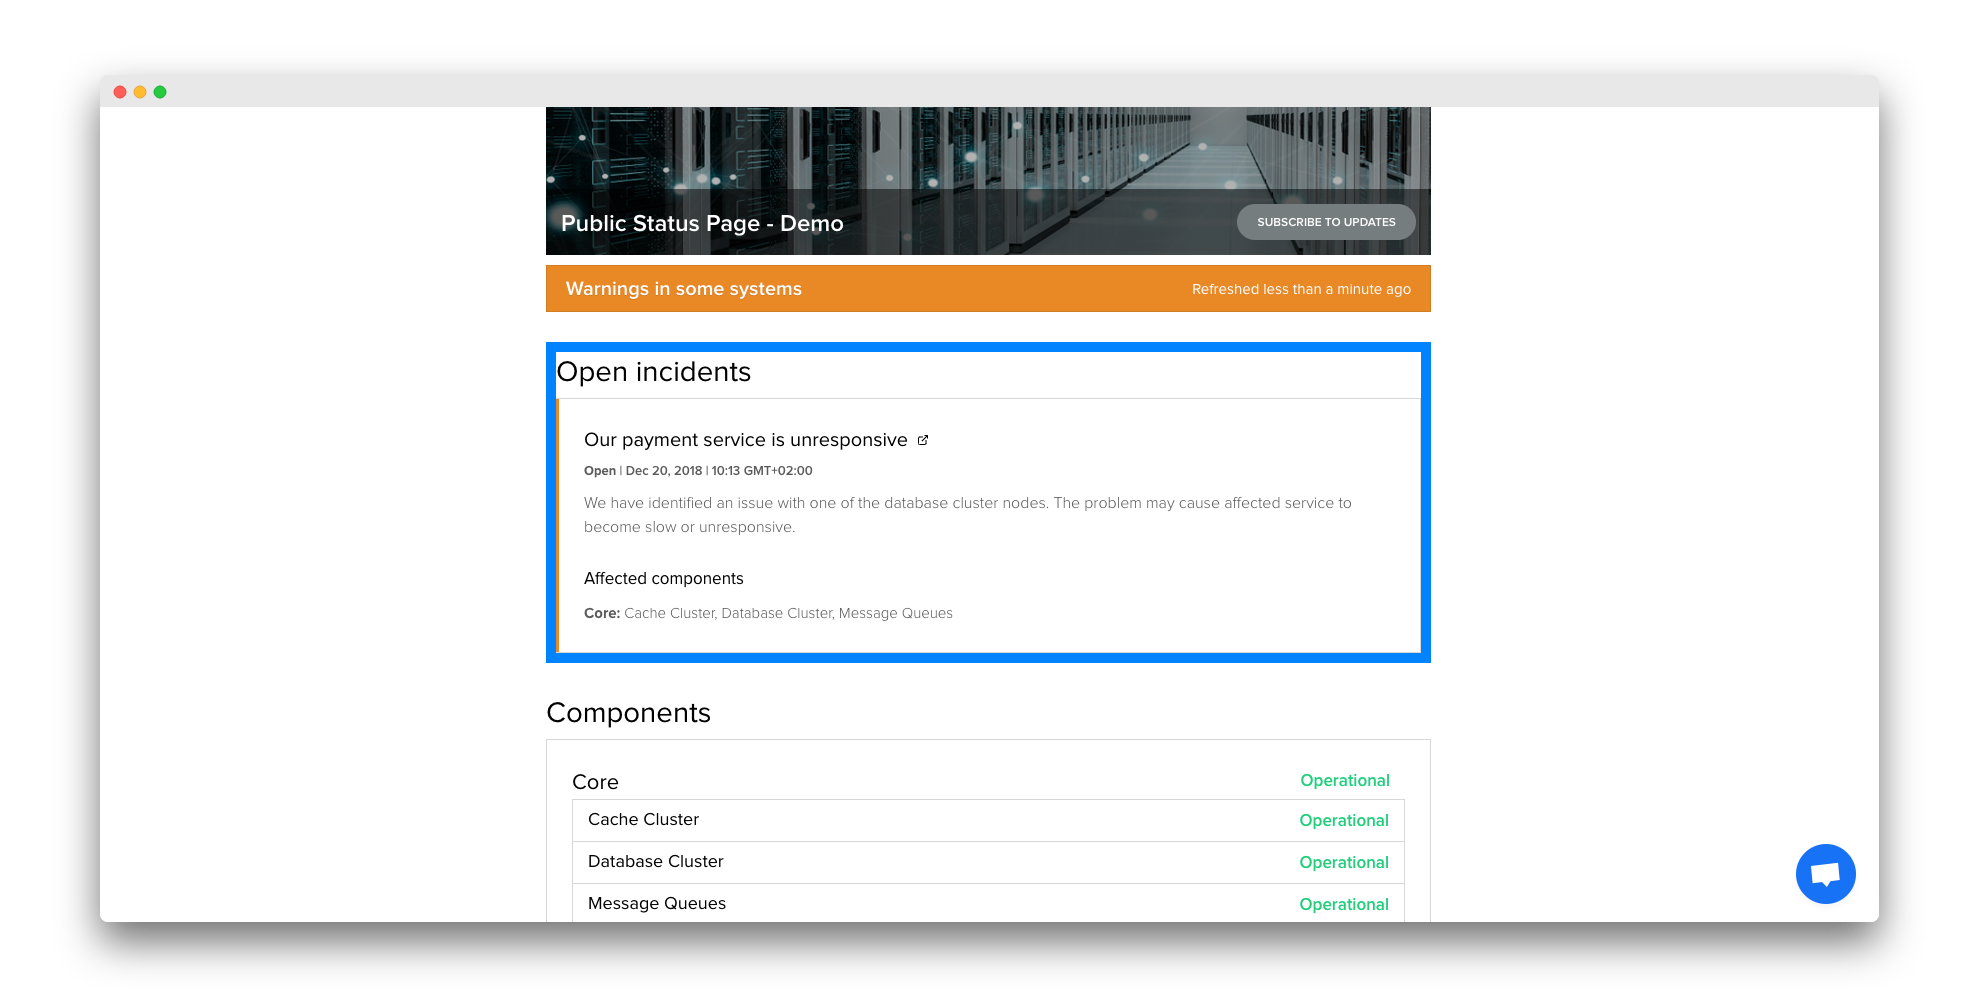
Overall status
<div class="block block-overall-status block-overall-status-angular">.block-overall-status {
/* Your styles here */
border: 10px solid #0083ff;
}
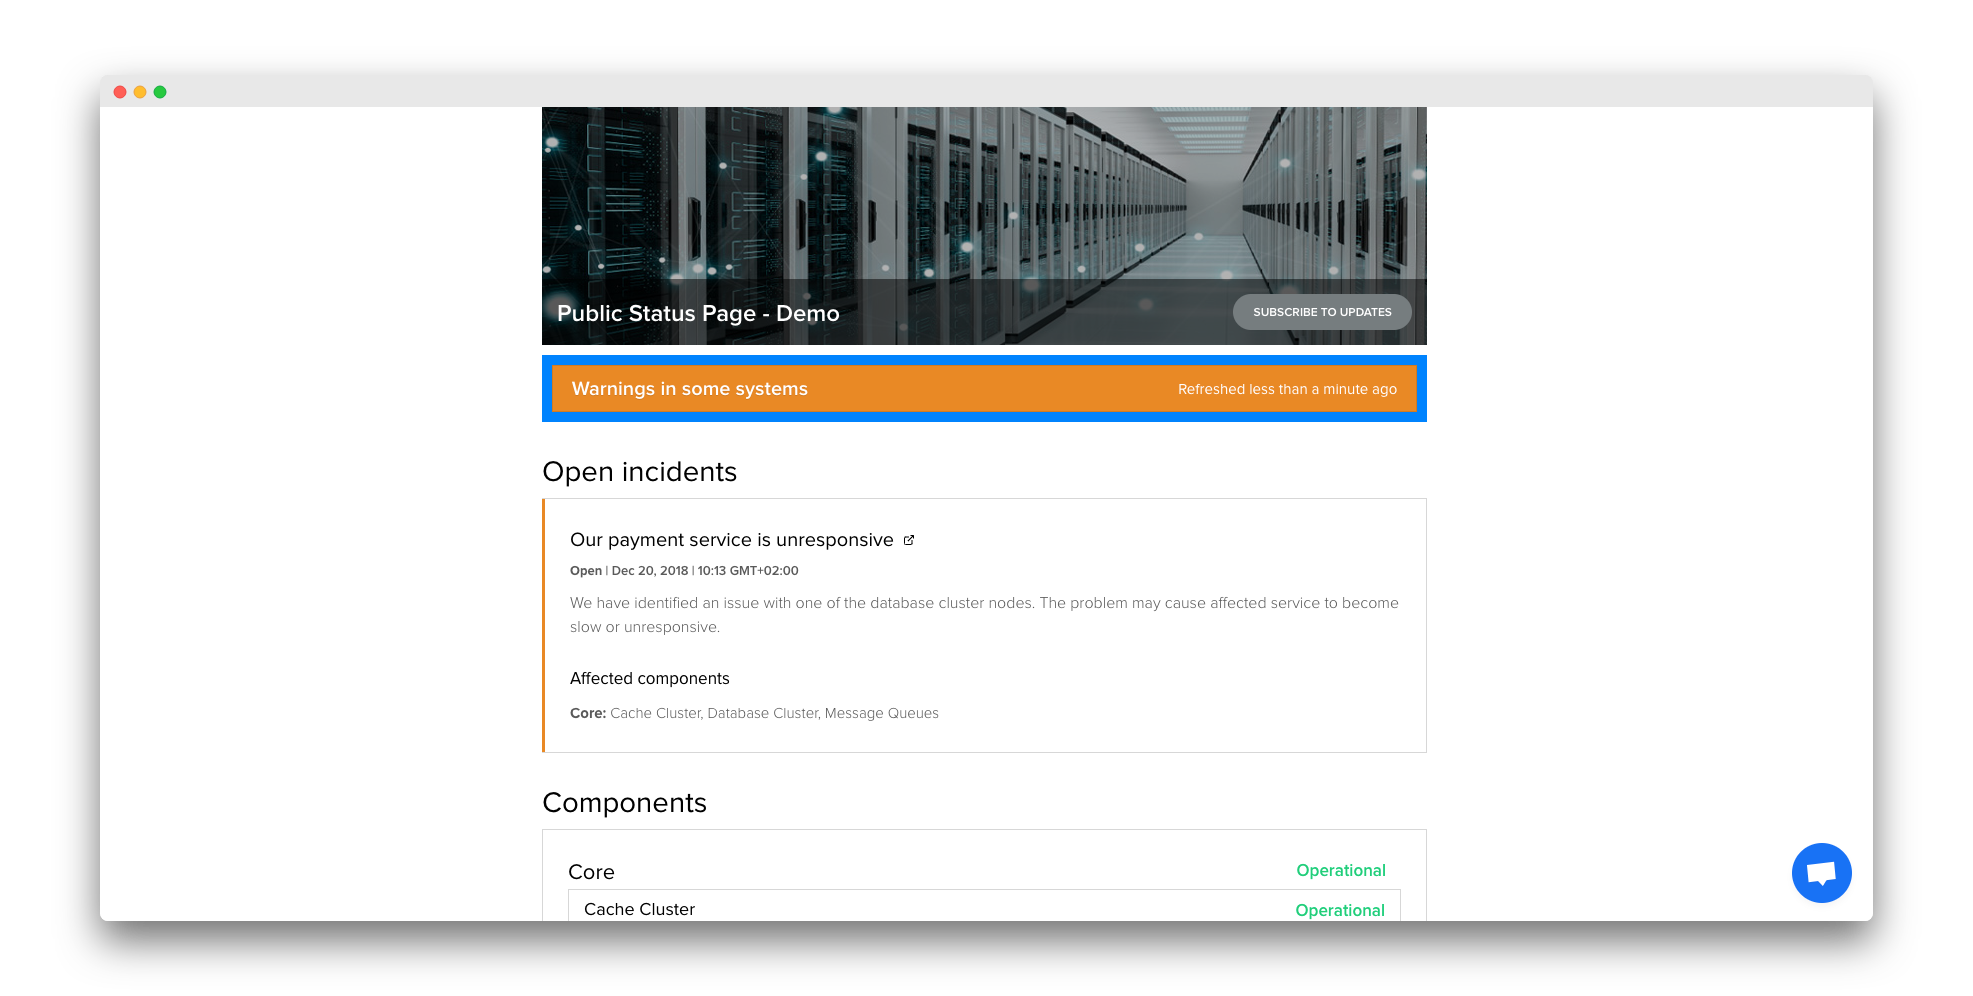
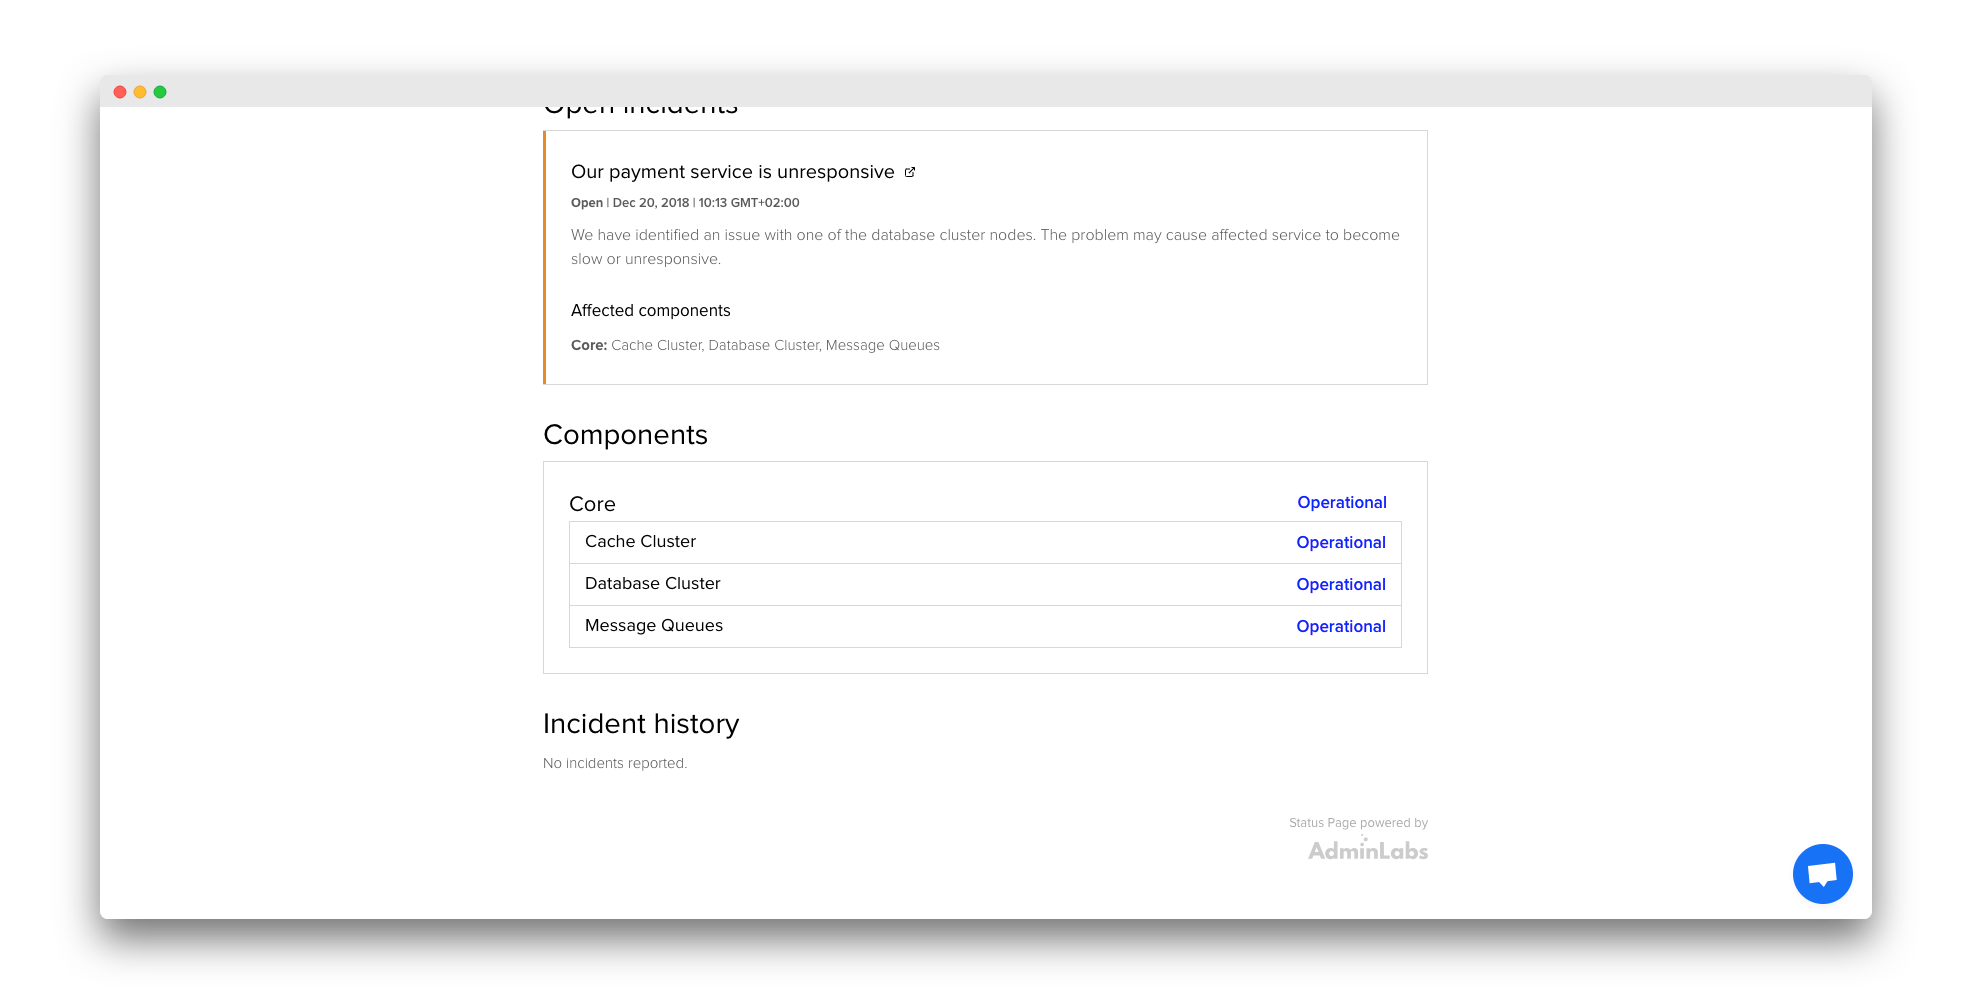
Incident, maintenances, components and other blocks
Every block is named as .block-something where something is the feature name. Incidents are inside block-incidents, components inside block-components and so on.
<div class="block block-incidents">.block-incidents {
/* Your styles here */
border: 10px solid #0083ff;
}
But my changes are not visible? When to use !important?
If you try to edit something that has been already defined strictly from our base layout or brand color settings, for example colors for OK status (green), neutral (yellow) and errors (red), you need to use !important to override those styles. Here’s an example:
.status-title {
   /* Your styles here */
   color: blue !important;
}
Preview:
Support
If you have any questions, feel free to send them at support@adminlabs.com.